

MiCA-licensed in the EU
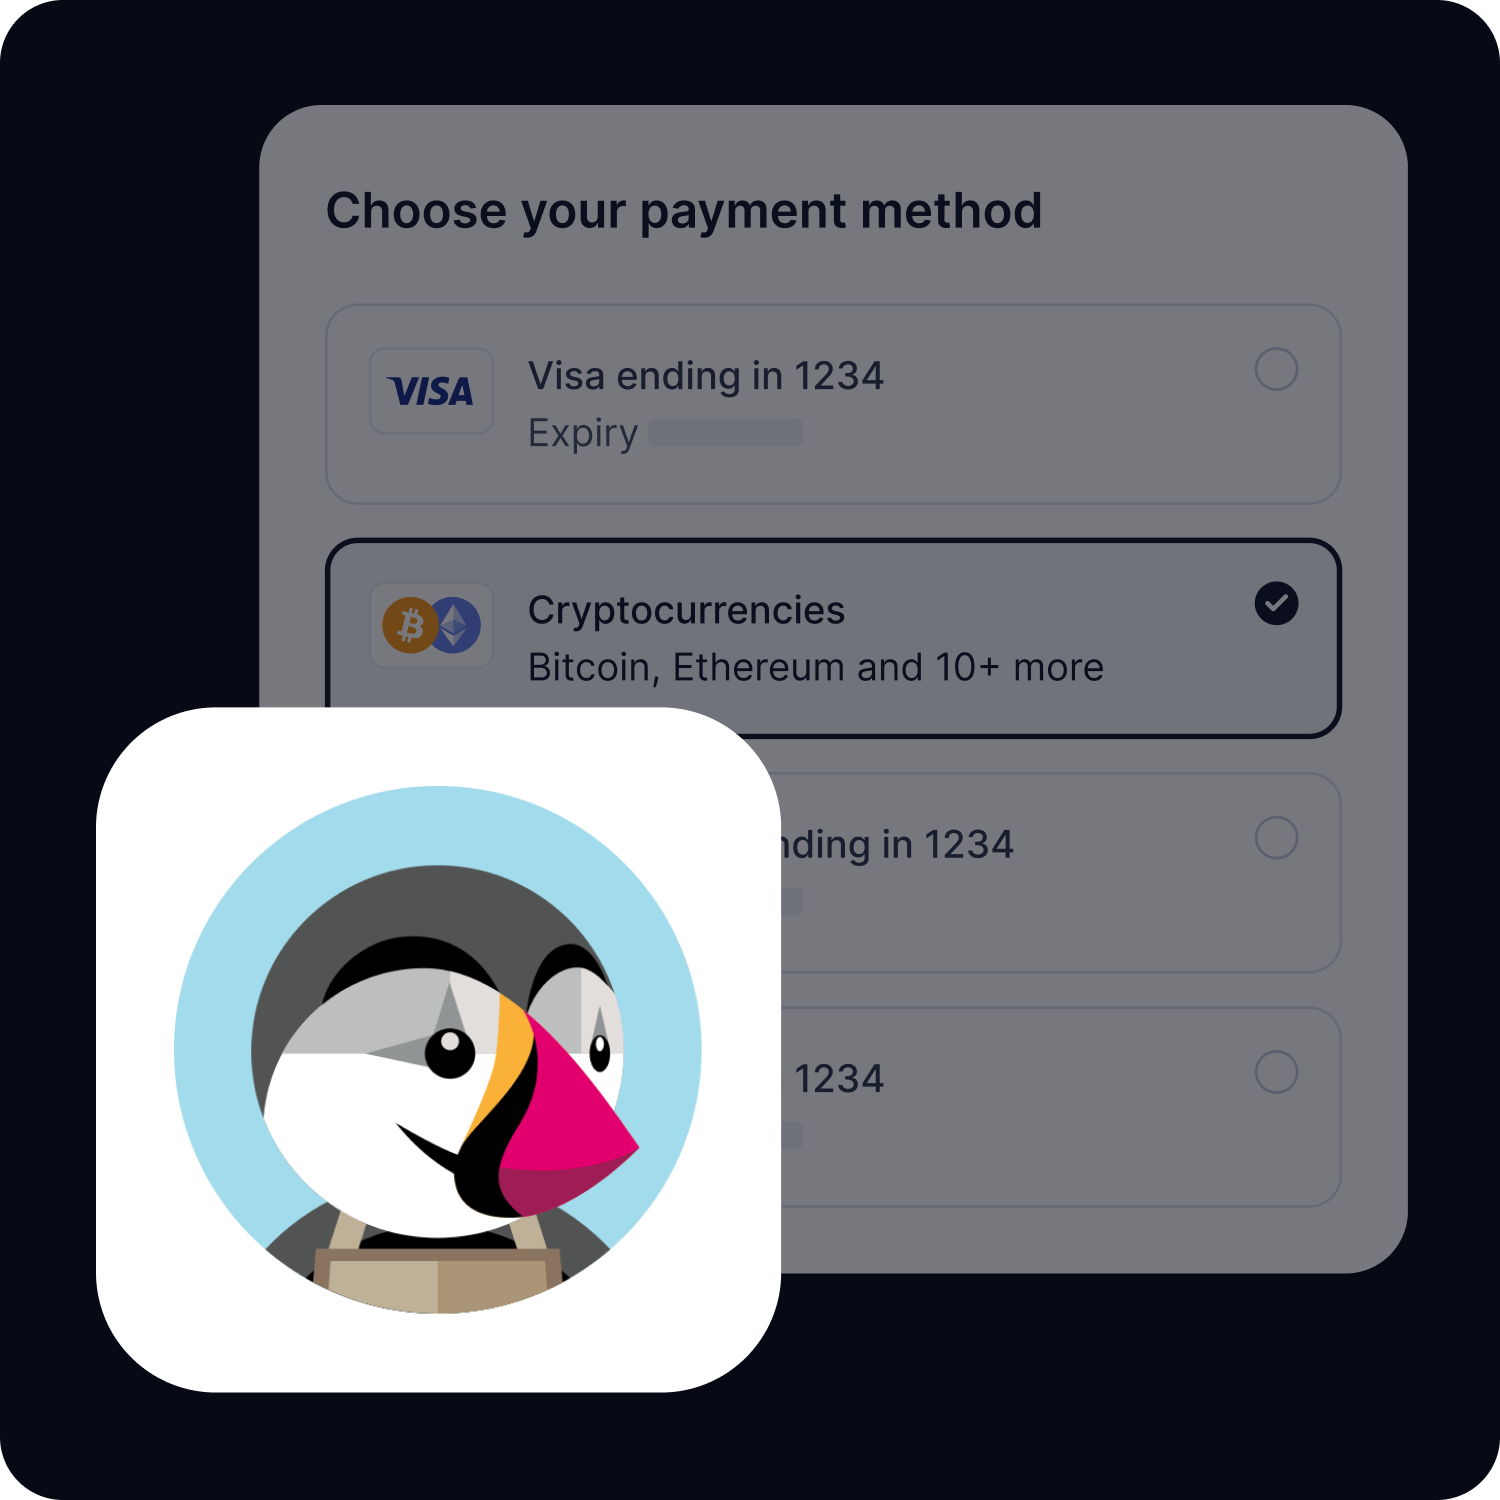
Accept crypto payments on PrestaShop
Your PrestaShop website can accept Bitcoin, Ethereum, USDC and more. Customers pay in crypto, you get EUR, USD or GBP in your bank account. Setup takes under 5 minutes.
Three steps to crypto payments
No coding, no blockchain expertise. Install the plugin, connect your account, and your store starts accepting crypto.
Install the plugin
Download from the PrestaShop plugin directory or install directly from your admin panel. One click. No technical setup.
Connect your account
Sign up for a free CoinGate account and paste your API credentials into the plugin settings. Takes about 2 minutes.
Start accepting crypto
Your customers can now pay with Bitcoin, Ethereum, USDC, Litecoin and other cryptocurrencies. You receive settlements in your preferred currency.
How to set up the CoinGate PrestaShop plugin
The full process, step by step. Most merchants finish in under 5 minutes.
Create a CoinGate account
Go to coingate.com and sign up. Verify your email. The whole process takes a couple of minutes. If you want to test things first, use our sandbox environment at sandbox.coingate.com.
Generate API credentials
In your CoinGate dashboard, go to the API section. Create a new app and copy the API credentials. You will need these in the next step.
Install the plugin
Log into your PrestaShop admin panel. Go to the plugin or extension directory, search for “CoinGate” and click Install. No coding required, no files to upload manually.
Configure payment settings
Open PrestaShop payment settings and find CoinGate in the list. Paste your API credentials. Choose your settlement currency (EUR, USD, GBP or crypto). Set order status mappings if needed. Save.
Need help? Our support team is available if you run into anything during setup. Not a chatbot, not a community forum. Actual people who know the product.

Why store owners choose us
There are other crypto payment providers. Here is what makes working with us different.

Licensed and regulated
We hold a MiCA license issued in the EU. For merchants who care about compliance and working with a regulated provider, that distinction matters.
Plugin built in-house
Our PrestaShop plugin is maintained by the same team that built the payment gateway. Updates, bug fixes and compatibility patches come directly from us, not a third party.
More payment plugins from CoinGate
Set up cryptocurrency payments infrastructure, track orders, and manage your crypto earnings with an easy-to-use crypto payment gateway.
Cryptocurrencies you can accept on PrestaShop
Over 10 cryptocurrencies across 5 blockchain networks. Your customers choose what to pay with. You choose what to receive.
Have a question about CoinGate crypto e-commerce plugins?
Frequently asked questions (FAQ)
What cryptos can I accept with the PrestaShop web app?
You can fin the up-to-date list of supported currencies in this page.
Am I able to use the PrestaShop web app and collect bitcoin payments in my country?
CoinGate supports 170+ countries listed here.
Are there any fees for accepting crypto with the PrestaShop web app?
Accept cryptocurrency payments with a little 1% fee for a processed transaction.
How can I test the PrestaShop web app functionality?
Sign up for the CoinGate Sandbox to test the services in a safe environment.
Does it take long to withdraw the funds collected via the PrestaShop web app?
Withdrawals are processed recurringly. SEPA payouts might take 1-2 business days to go through.
What is the minimum amount that a merchant can withdraw?
The amount available for withdrawal depends on the payout currency. Find all the fees in this page.