


Accept crypto with CoinGate
Accept crypto with confidence using everything you need in one platform.
Crypto Payment API: A Developer's Integration Guide
Most articles about accepting crypto are written for the person signing the contract. This one is for the person who has to make it work.
You’ve been handed a task: let customers pay in crypto. You don’t need the philosophy of decentralized money. You need to know what to call, what comes back, and what to handle when it does. So let’s stay at that level. The examples use CoinGate’s API, because describing a real one beats describing a hypothetical one, but the shape of the integration is similar across most providers.
The mental model
Strip away the crypto and a payment API does three things. It creates an order, it sends the customer somewhere to pay, and it tells your server when the money arrives. Everything else is detail.
Here’s the flow CoinGate documents:
- Your server creates an order.
- You send the customer to a hosted payment page.
- The customer pays. CoinGate watches the blockchain.
- CoinGate posts a callback to your server when the status changes.
- Your server confirms and fulfills the order.
The thing to internalize early: you never trust the customer’s browser to tell you a payment succeeded. The truth comes from the callback hitting your backend, verified. We’ll get to why that matters.
Authentication and environments
Authentication is a single API token in the header. Not a Bearer token, the literal word “Token”:
Authorization: Token YOUR_API_TOKENTwo environments, and they are completely separate systems. Live runs at https://api.coingate.com/v2 against real blockchains. Sandbox runs at https://api-sandbox.coingate.com/v2 against testnets, and you generate its keys at sandbox.coingate.com. Credentials do not cross over. A live token will not work in sandbox, and the other way around.
Build against sandbox first. It needs no merchant verification, so you can have something working before the business side finishes onboarding.
Step one: create the order
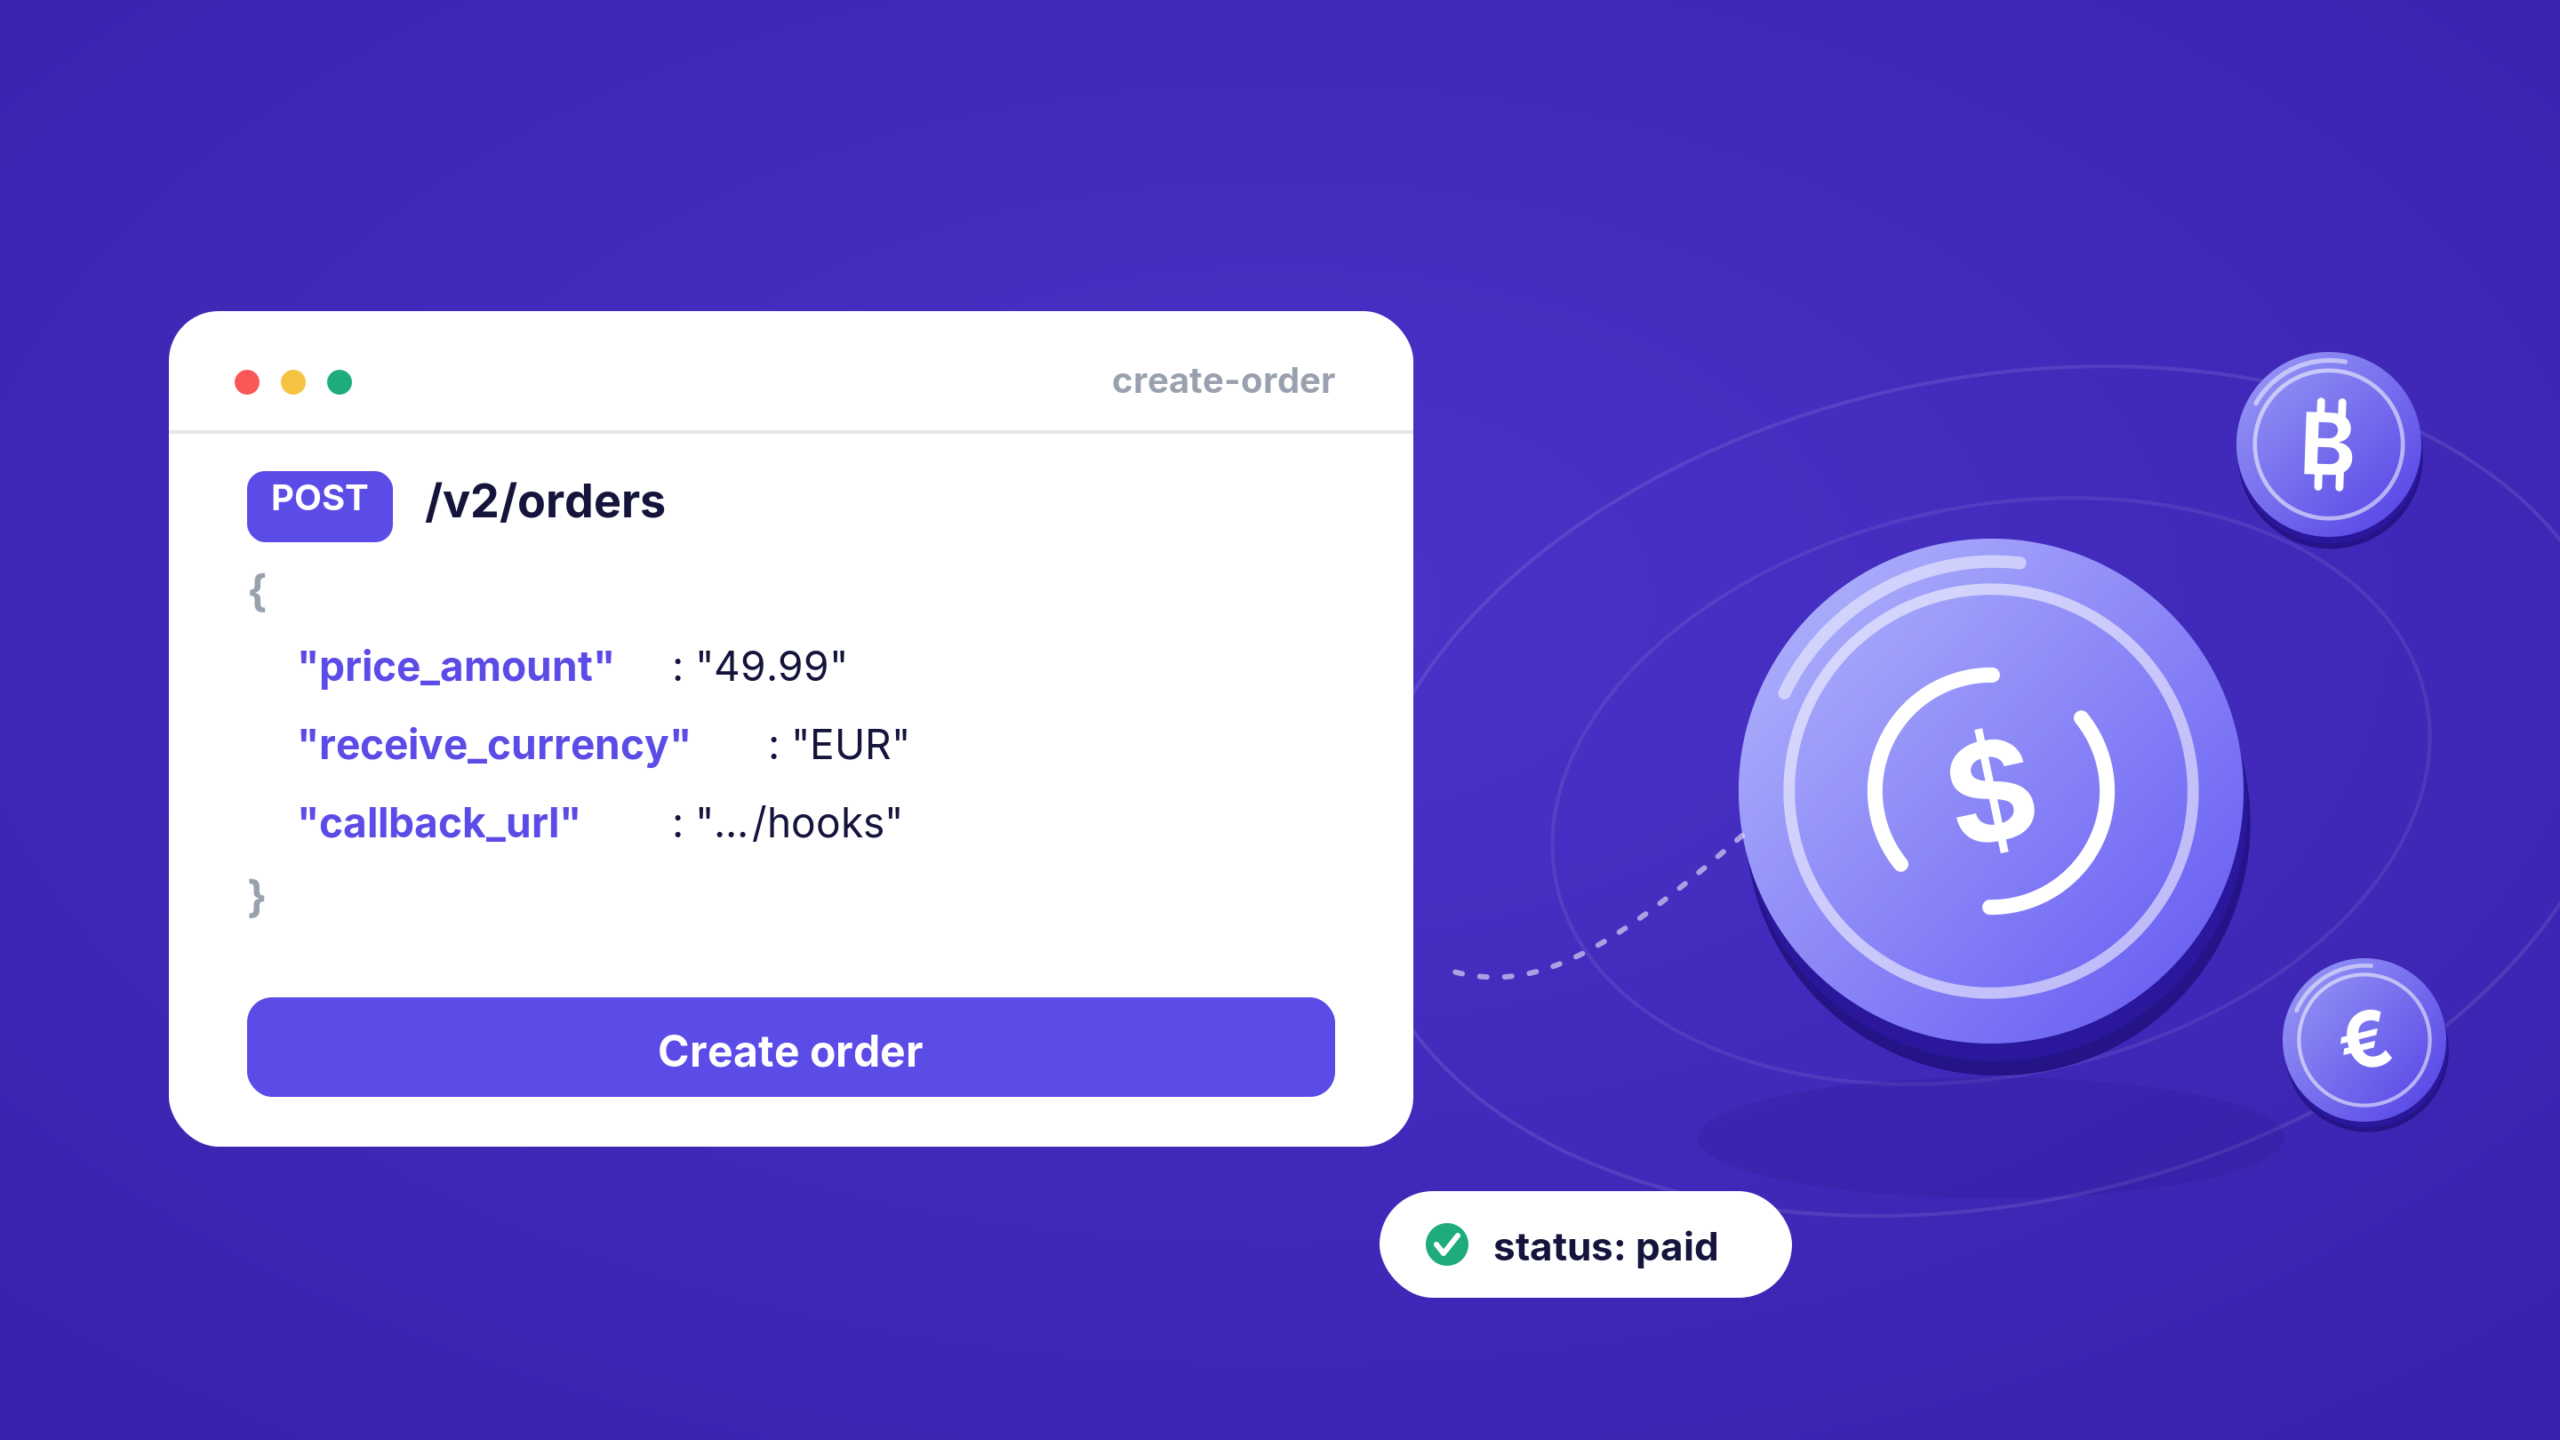
You POST to /v2/orders. The required fields are small:
price_amount: what you’re chargingprice_currency: the currency that amount is intitleanddescription: what it’s for
The useful optional ones:
receive_currency: how you want to be settled (more on this below)callback_url: where status changes get postedsuccess_urlandcancel_url: where the customer returnsorder_id: your own internal referencetoken: a value you’ll use to verify callbacks
A successful call returns 200 with the order object, including a payment_url. An invalid request returns 422 with a reasons array telling you what was wrong. Handle both.
The receive_currency field is where settlement is decided. Set it to a fiat like EUR, USD, or GBP and the payment is converted and settled to you in that currency. Set it to a crypto like BTC or ETH and you’re credited that asset at the rate locked when the invoice was generated. Set it to DO_NOT_CONVERT and you keep whatever the customer paid with. One field, three settlement strategies.
Step two: send the customer to pay
Take the payment_url from the response and redirect the customer there. CoinGate hosts the page, the customer picks their coin and network, and they pay. You don’t build the payment UI, handle wallet connections, or watch the chain yourself. That’s the hosted flow doing its job.
If you need to render your own invoice instead of redirecting, there’s a POST /v2/orders/{id}/checkout endpoint that returns a payment_address and a payment_request_uri so you can show your own QR code. Worth knowing it exists, though it’s gated and enabled per merchant on request, so don’t design around it without checking access first.
Step three: handle the callback, carefully
This is the part that separates a working integration from a fragile one.
When the order’s status changes, CoinGate sends an HTTP POST to your callback_url. That callback is your source of truth, not the customer landing back on your success page. A customer can close the tab before redirecting. The callback still arrives.
Verification works by token matching, not a signature header. When you created the order you passed a token. CoinGate echoes that same token back in every callback for that order. Your handler compares the received token against the one you stored. If they match, the callback is authentic. As a second check, confirm the amount and currency are what you expected.
A few operational details worth handling from day one:
- Acknowledge with 200 or 204. CoinGate waits 20 seconds for your response.
- It retries on failure, on a backing-off schedule, up to 40 attempts before giving up. Your endpoint should be idempotent so a retry doesn’t double-fulfill an order.
- Callbacks come from a fixed set of IPs, published at api.coingate.com/v2/ips-v4. Whitelist them.
- Callbacks get auto-canceled if your endpoint returns a redirect, a 401, or a 403, so make sure the URL is reachable and open.
- There’s a callback-testing tool in the dashboard that replays a real payload, which beats waiting for a live payment to debug your handler. And if a callback never arrives at all, debugging a quiet callback covers the two endpoints that tell you whether we tried and what your server returned.
The order lifecycle
Your callback handler needs to know what the statuses mean. These are the documented ones:
new: order created, customer hasn’t picked a currency yet. Expires after 2 hours.pending: customer selected a currency and platform, payment expected. Expires if unpaid within 20 minutes.confirming: payment sent, waiting on network confirmation.paid: confirmed and credited. This is when you fulfill.invalid: not confirmed by the network, or flagged for compliance.expired: the windows above ran out.canceled: customer canceled.refunded/partially_refunded: money went back.
Fulfill on paid. Not on confirming, not on the customer hitting your success page. Paid is the one that means the money is really yours.
Beyond payments
If your integration grows past checkout, the same API covers more ground. There’s a payouts (Send) API with CSV batch payouts for paying people out, a Billing API for recurring invoices, a Convert API for moving between assets, and ledger endpoints for accounts and transactions. Both have their own walkthroughs, including auto-converting crypto balances with the Convert API. The currency list is available unauthenticated at /v2/currencies, filterable by what you can accept versus what you can receive.
Two limits to design around: 200 requests per minute, and 500 orders per hour per business by default. Higher limits are available through support if you outgrow them.
Don’t write it from scratch if you don’t have to
Before you hand-roll HTTP calls, check what already exists. CoinGate maintains official PHP and Ruby libraries plus an Omnipay package, and there are community Node and Python wrappers.
For common platforms there are ready plugins for WooCommerce, PrestaShop, Magento, OpenCart, and WHMCS, so a store integration might be a configuration job rather than a coding one. If you’re choosing a provider rather than implementing one that’s already decided, our roundup of the best crypto payment gateways compares them on what matters to a build.
A crypto payment API is less exotic than it sounds. Create an order, redirect to the hosted page, listen for the callback, fulfill on paid. The discipline is in the callback handling: verify the token, make your endpoint idempotent, whitelist the source IPs, and trust the server-side status over anything the browser tells you. Start in sandbox, get the flow solid, then flip to live.
Building crypto payments into your product? Start with us by creating a business account, and the docs are at developer.coingate.com.
FAQ
How do I verify a crypto payment callback is genuine?
With CoinGate, by token matching. You set a token when creating the order, and that exact token is returned in every callback. Compare it against your stored value, and double-check the amount and currency. It is not an HMAC signature scheme, so don’t build for one.
When should I mark an order as fulfilled?
On the paid status, delivered via callback to your server. Never on the customer reaching your success page, since they might close the tab, and never on confirming, since the network hasn’t finalized it.
Can I accept crypto without holding it?
Yes. Set receive_currency to a fiat such as EUR, USD, or GBP when creating the order, and the payment is converted and settled to you in that currency.
Do I need to build the payment screen myself?
No. The default flow gives you a hosted payment_url to redirect to. Building your own invoice is possible through a separate checkout endpoint, but it’s gated and needs to be enabled for your account.
Accept crypto with CoinGate
Accept crypto with confidence using everything you need in one platform.